

How To Get To Yhorm The Giant
Map
:format(webp):no_upscale()/cdn.vox-cdn.com/uploads/chorus_asset/file/7823033/2017_01_11_Profaned_Capital.png)
Click the map to brand information technology larger, and be sure to check out all of our Nighttime Souls 3 maps.
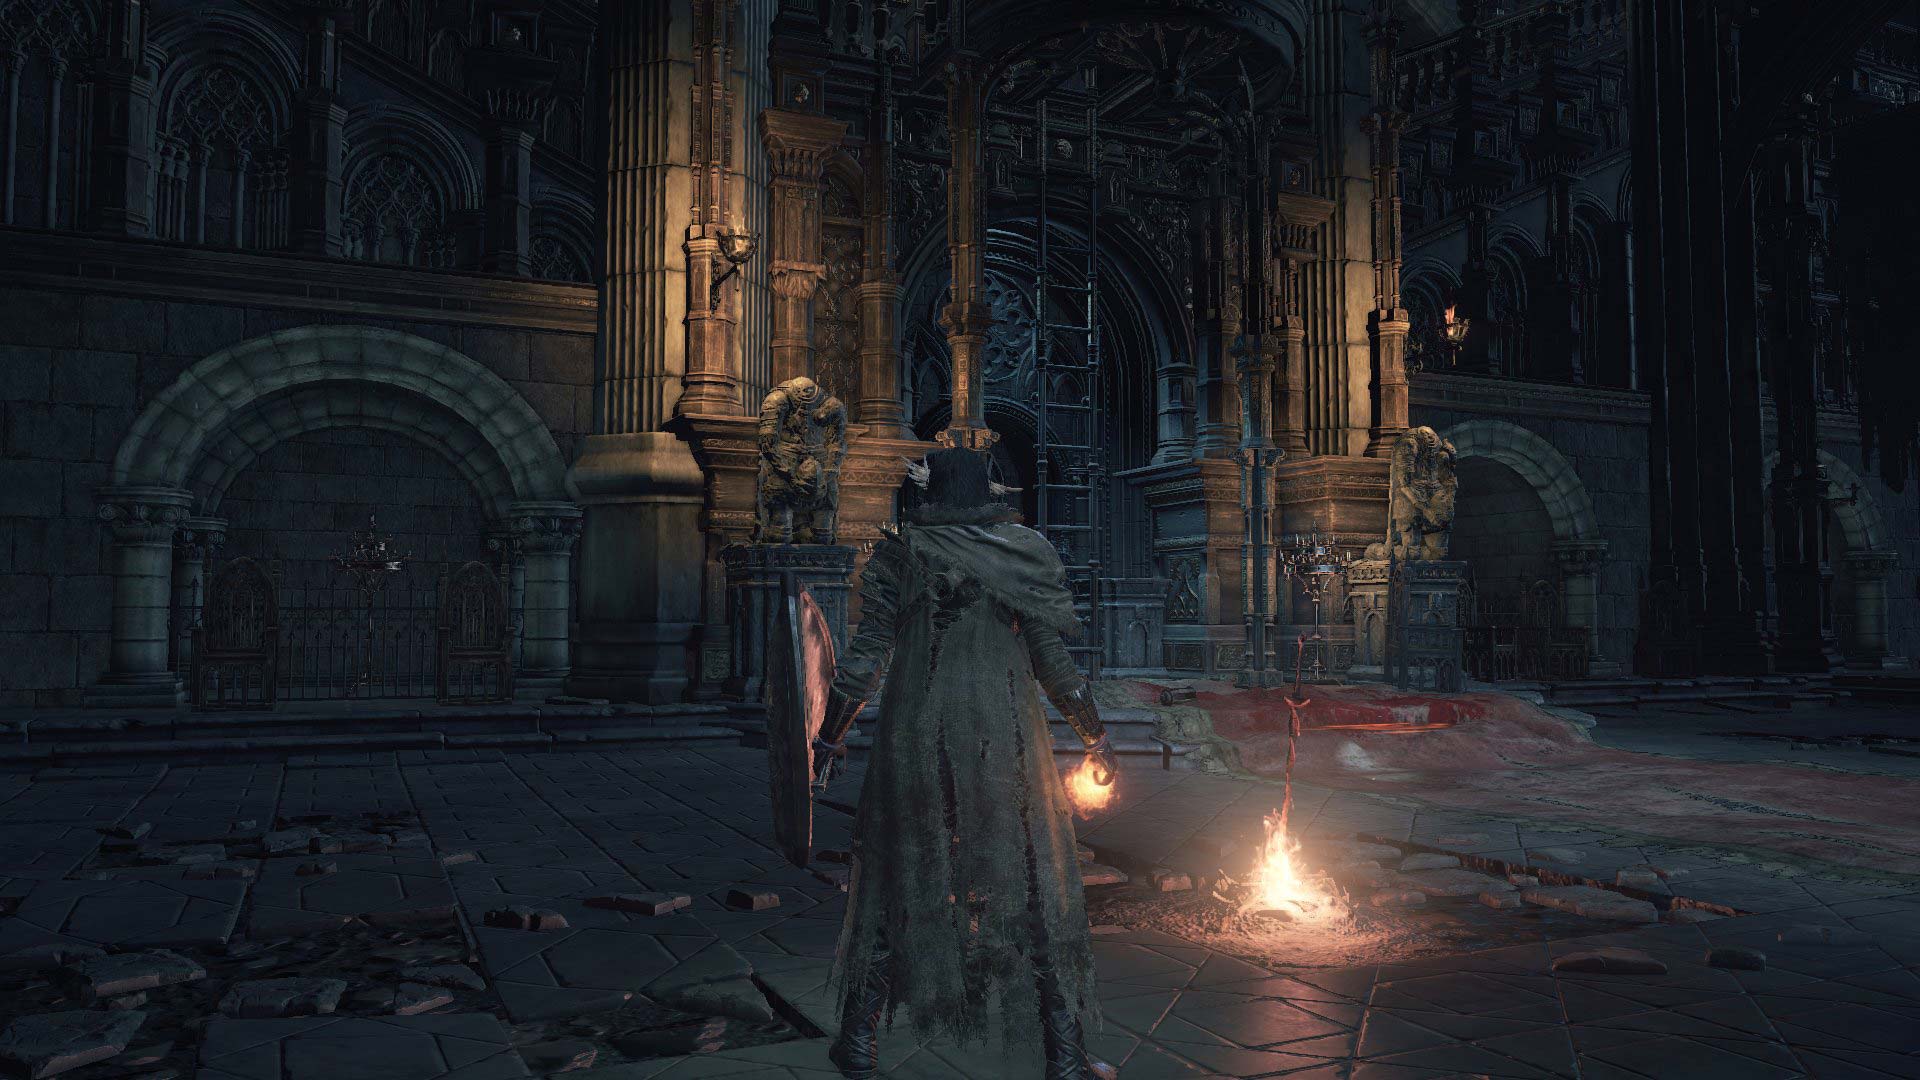
Profaned Capital letter bonfire

Head back downward the same ladder y'all just climbed. Await for a hole in the wall and go through it. Go effectually the exterior of the round tower and climb upwards the ladder. Grab the two Rusted Coins. Become downwardly the ladder and and so head upwards the forest ramp into a minor temple. When inside, take the first left, then the next correct, accept out the Crystal Cadger, then accept the adjacent right after that, take out another Crystal Lizard, then take 1 more left, then 1 more right to the wooden platform at the temple exit. If you make a left instead of the final right, there'southward a Rusted Gold Money you can catch. This route volition permit yous avert the holes in the flooring. Dropping through the holes isn't fatal though it'south easier to manage the enemies below if you apply the wooden platform.

Jump off the platform and take on the Sewer Centipedes at the puddle below. Catch the Purging Stone while you lot're here. The centipedes are spread out evenly plenty that you should be able to fight them 1 past 1. By making a U-turn to the right, you lot'll discover a cave with more Sewer Centipedes. Catch the Cursebite Ring and the Toxicant Precious stone while within.

Exit the cave and head straight and to the left. You lot should attain a room at the bottom of the temple. In that location are three Monstrosities of Sin inside plus 3 Purging Stones at the other cease of the room. The Monstrosities can be lethal if you're not careful. If they stand upright, run abroad as fast as you can. They tin can have off over half your health with their grip-and-munch assault. If you lot tin can avoid that attack, they'll plop on the ground, giving y'all an opening to pull off at least half a philharmonic. Y'all can try to flank them merely they'll nigh likely roll toward yous, which can cause considerable damage. They're vulnerable when they sit upright. All 3 Monstrosities will drib 2 Dung Pies each, while killing all of them volition give y'all the Eleonora axe.
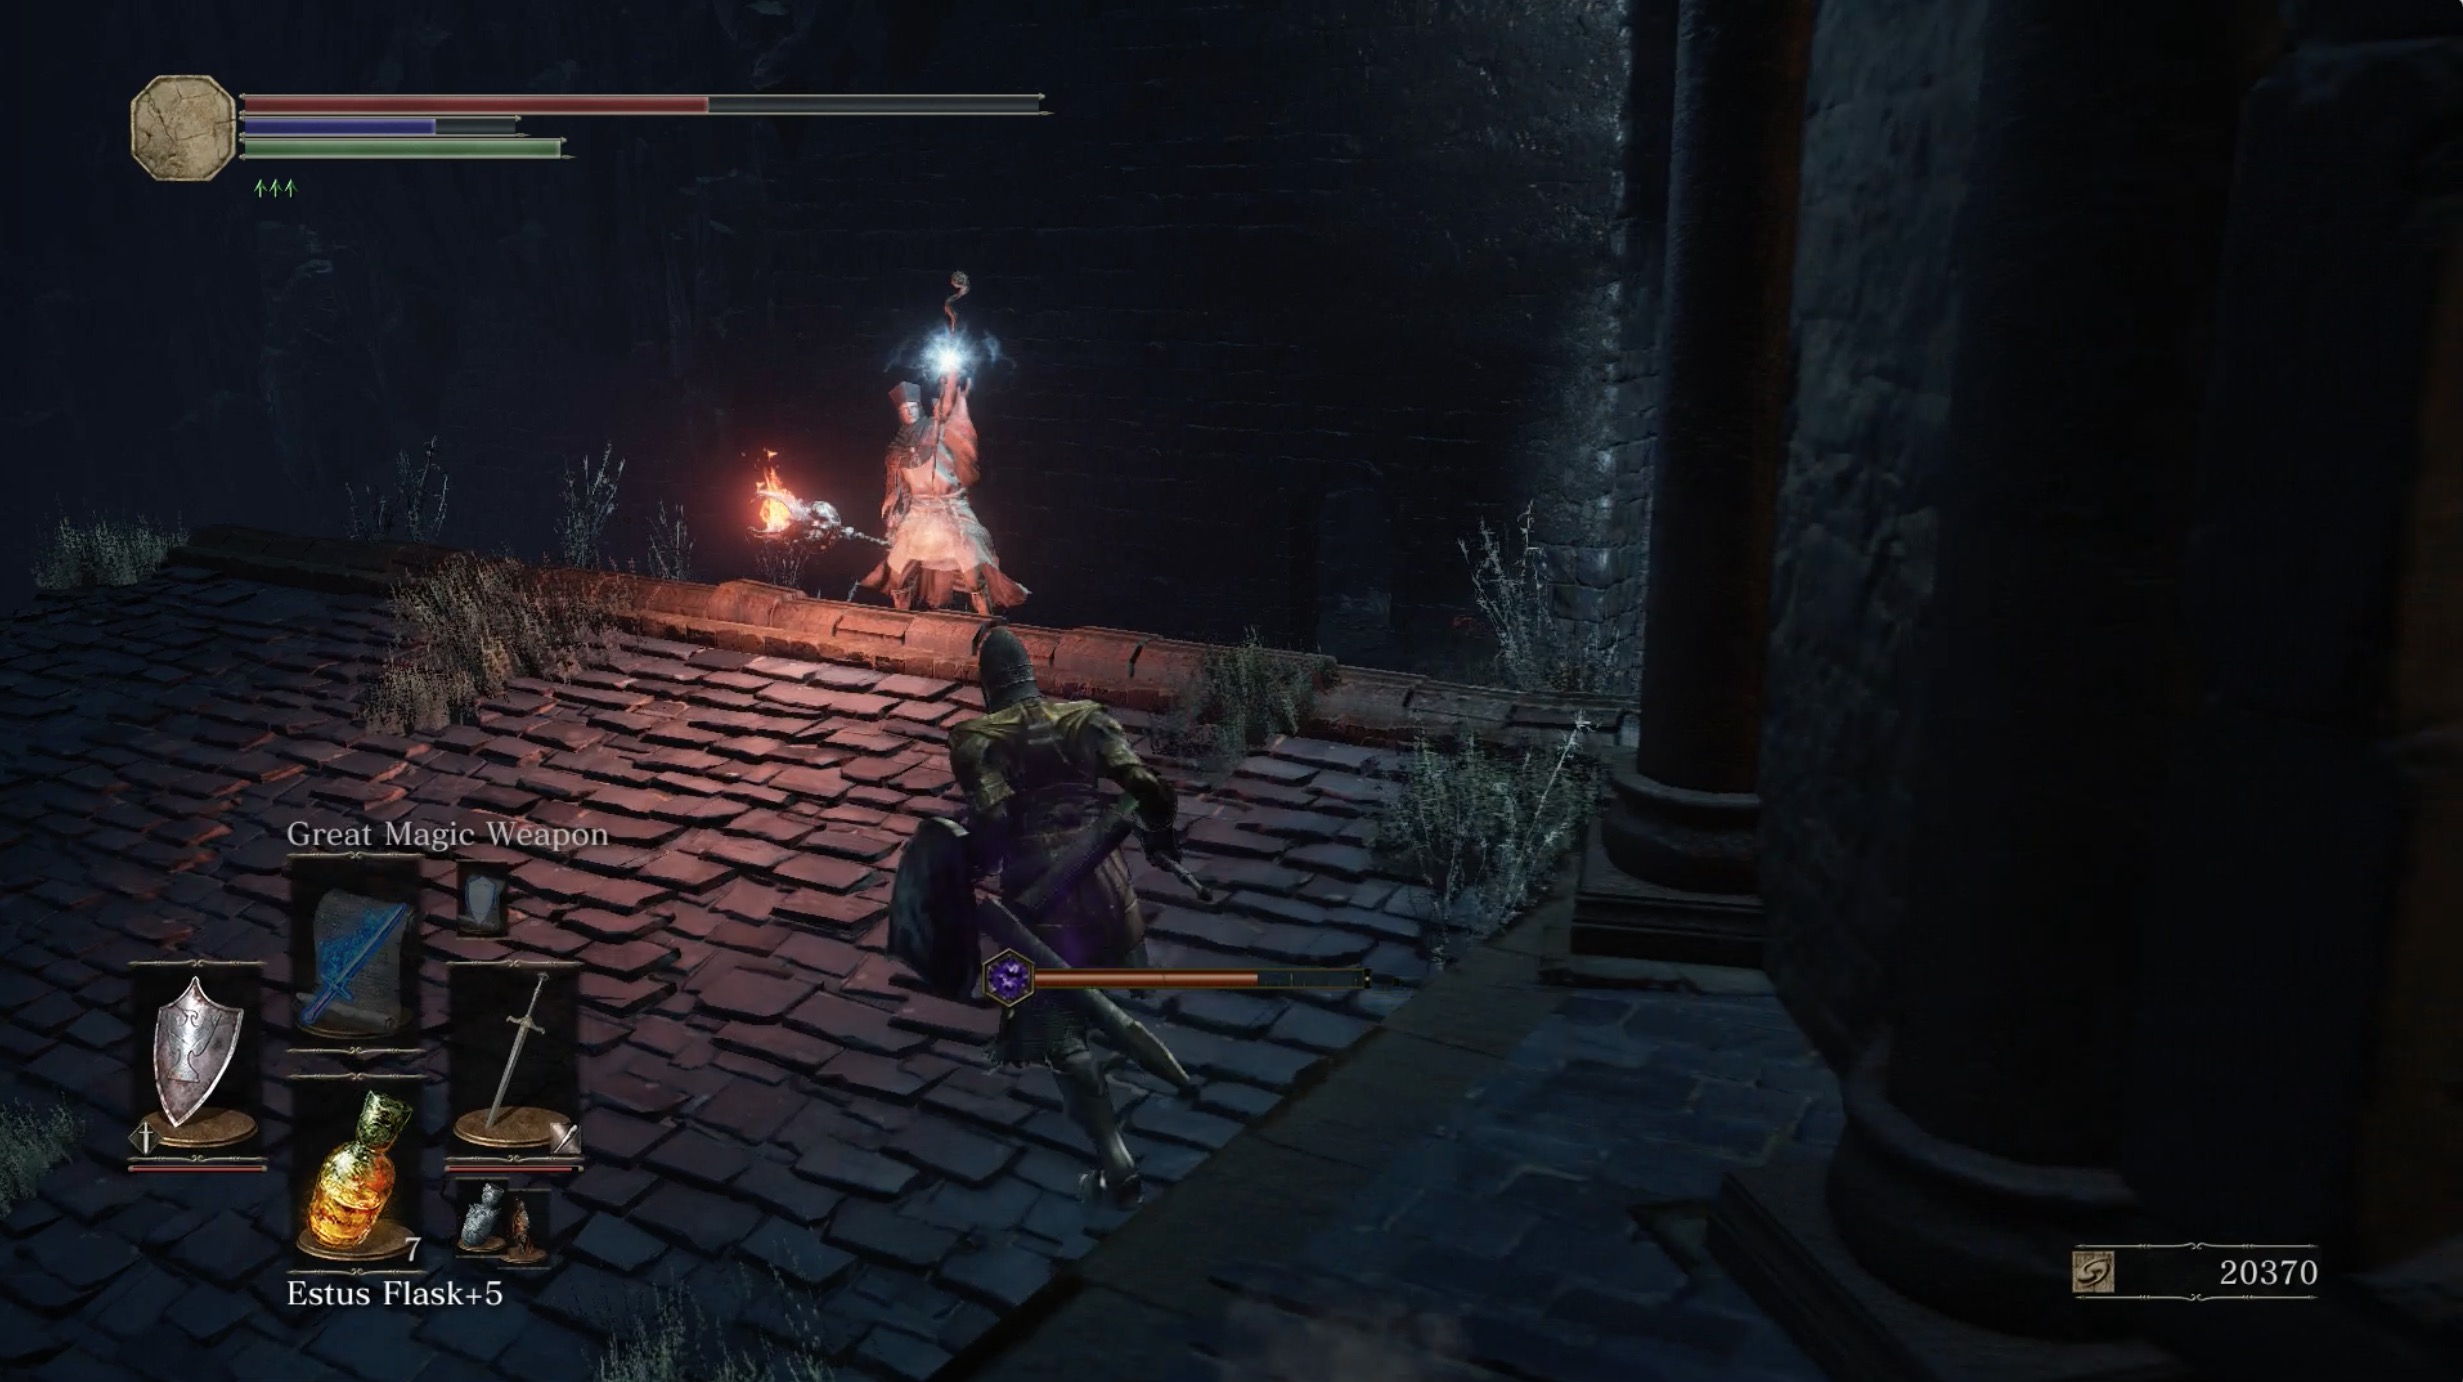
When you're finished with that room, head for the ladder at the temple exterior and make your style to the roof. There are some Toxicant Arrows at a corpse nearby as well as an Unkindled worth fighting. This mage is skilled at both ranged spells and melee attacks with its staff. Getting up close will negate his spells; you just demand to be able to keep upwards with his roll dodges. If y'all kill him, he'll drop a Logan'due south Roll.
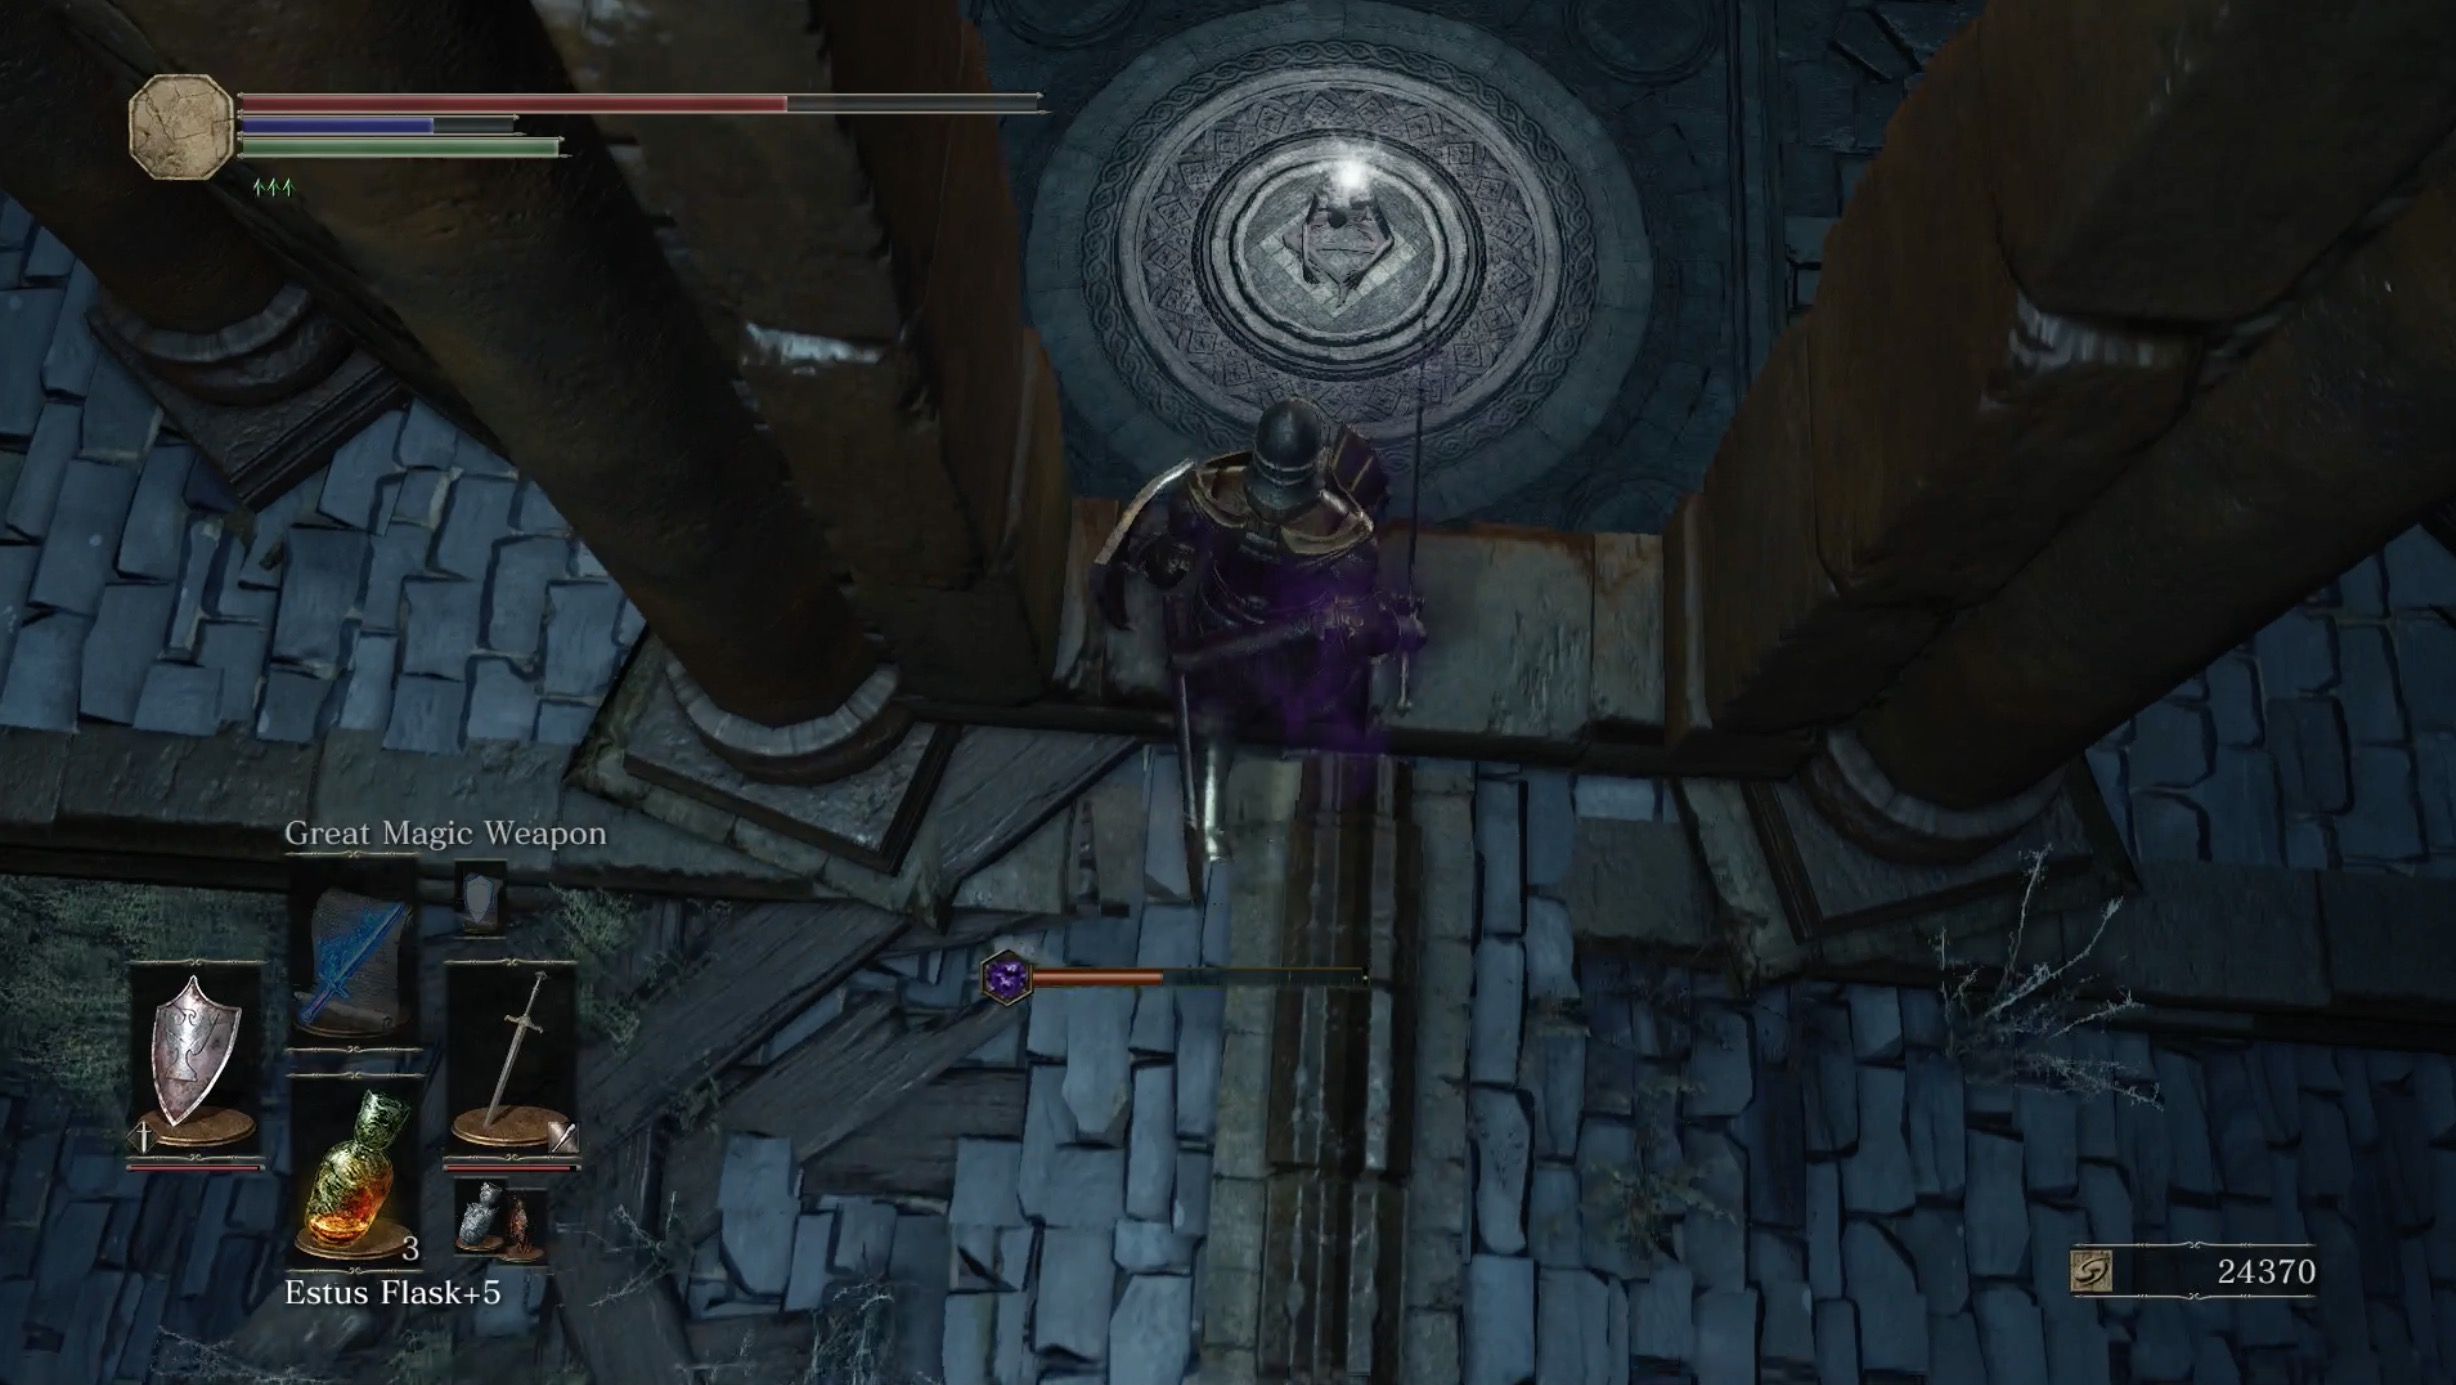
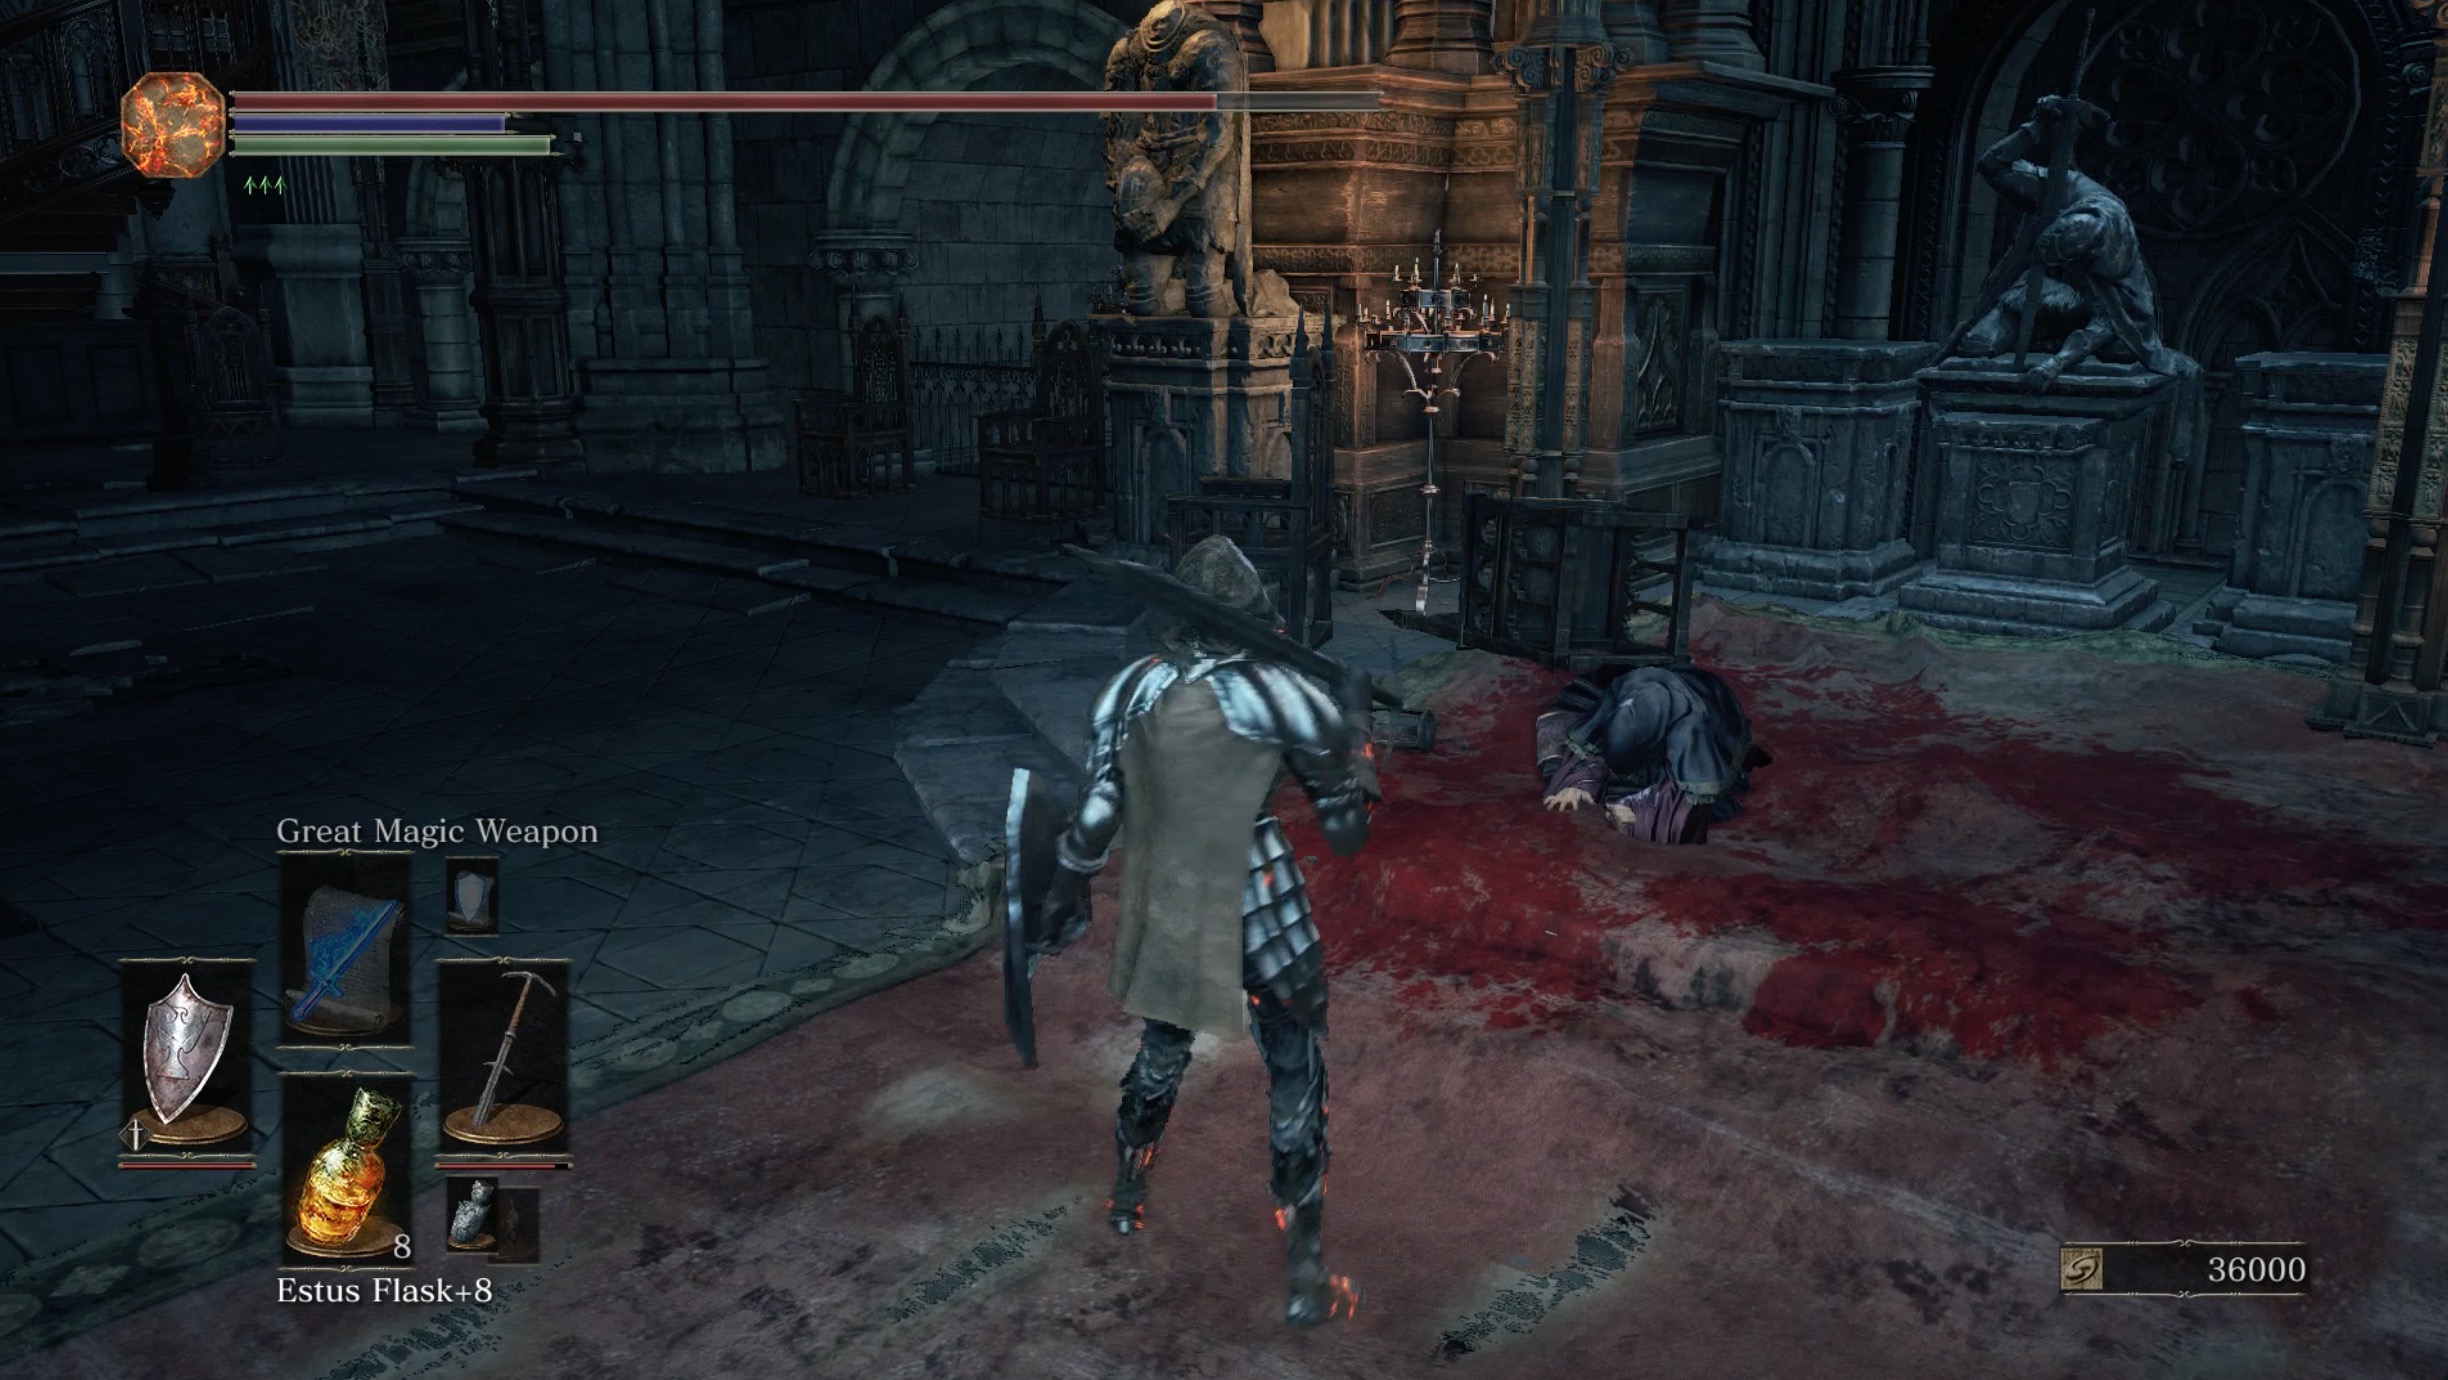
The acme of the temple features a hole in the middle where you lot can drib into the temple's interior. The landing platform has a Wrath of the Gods and a Monstrosity of Sin resting nearby. After killing it, it will drop two Dung Pies. Catch the Court Sorcerer Gear, at the base of operations of the landing platform, the Court Sorcerer's Staff from the Mimic behind the platform and the Rubbish by going downstairs. Before we continue on the critical path, it's time to visit an onetime friend and finally get the Jailer's Key Ring we mentioned during the Irithyll Dungeon walkthrough.
:format(webp):no_upscale()/cdn.vox-cdn.com/uploads/chorus_asset/file/7848629/005_Dark_Souls_3_Rework.jpg)
Caput back up to the roof of the temple. On the left side — the side closest to the stairs — look at the wall in front end of you lot. You volition meet an open window. Run and jump off the edge of the roof and you will land inside the room there. Keep up the stairs to the closed gate.
:format(webp):no_upscale()/cdn.vox-cdn.com/uploads/chorus_asset/file/7848633/009_Dark_Souls_3_Rework.jpg)
Use the Old Cell Key y'all picked upwardly in Irithyll Dungeon to unlock it. Inside, you'll discover your old friend Siegward of Catarina and the Covetous Gold Serpent Ring, which increases item discovery.
:format(webp):no_upscale()/cdn.vox-cdn.com/uploads/chorus_asset/file/7848635/008_Dark_Souls_3_Rework.jpg)
Retrace your steps to the roof of the temple. Drop onto the stairs you just jumped over and have them up. At the top of the stairs, there are ii invisible Jailers waiting for you to pass. Attack the air to draw them out.
:format(webp):no_upscale()/cdn.vox-cdn.com/uploads/chorus_asset/file/7848637/004_Dark_Souls_3_Rework.jpg)
When they're handled, continue following the path to the left. Take information technology all the way to the terminate to find the Jailer'due south Key Ring.
From here, you tin drop into the expanse of Irithyll Dungeon with all the rats where you fought the Giant earlier. While this is technically optional, we're going to go this mode to pick up some items previously unreachable and to complimentary an NPC. If you're not interested, work your way back to the Profaned Uppercase bonfire and we'll encounter you there in a minute.
:format(webp):no_upscale()/cdn.vox-cdn.com/uploads/chorus_asset/file/7848621/003_Dark_Souls_3_Rework.jpg)
Clear out the rats — either with ranged attacks or past dropping in and getting your easily dingy — and then exit through the tunnel on your left. Take the elevator you find in that location up to the Irithyll Dungeon blaze.
:format(webp):no_upscale()/cdn.vox-cdn.com/uploads/chorus_asset/file/7848639/006_Dark_Souls_3_Rework.jpg)
Commencement retracing your steps through the Irithyll Dungeon. The first door you lot can open now is correct in the start hallway. The prison cell on correct-hand side on the end will unlock with the Jailer'southward Primal Ring, getting you a Rusted Coin.
:format(webp):no_upscale()/cdn.vox-cdn.com/uploads/chorus_asset/file/7848719/011_Dark_Souls_3_Rework.jpg)
Plough right at the end of the hall and go on along to the staircase on the right. At the bottom of the stairs, yous'll notice another locked door on your left. Use the Jailer's Key Ring once again to become inside and pick up the Prisoner Master's Ashes which will unlock a few new items with the Shrine Handmaid, including Karla's Armor Gear up — a lightweight ready with adept curse protection.
:format(webp):no_upscale()/cdn.vox-cdn.com/uploads/chorus_asset/file/7848723/014_Dark_Souls_3_Rework.jpg)
Continue the rest of the style downwardly to the bottom flooring of the dungeon. Head to the lycanthrope'southward jail cell, then plow right. Unlock the jail cell y'all notice on your left to free Karla. Afterward you talk to her and she heads to Firelink Shrine, yous tin can talk to her there to larn Pyromancies, Sorceries and Miracles.
At present you lot tin can return to the Profaned Capital letter bonfire and pick up the critical path.
While continuing on the large wood platform with the bonfire, look at the leftmost hole in the wall; there's a ladder at that hole. Become down the ladder and cross the span close by. There's another Headless Gargoyle as well as Jailer Handmaids launching fireballs from a distance. Whether you cull to confront the demon or not, your next destination is the other end of the span. Catch the Onislayer Greatarrow on the bridge and the Soul at the other finish of the span.

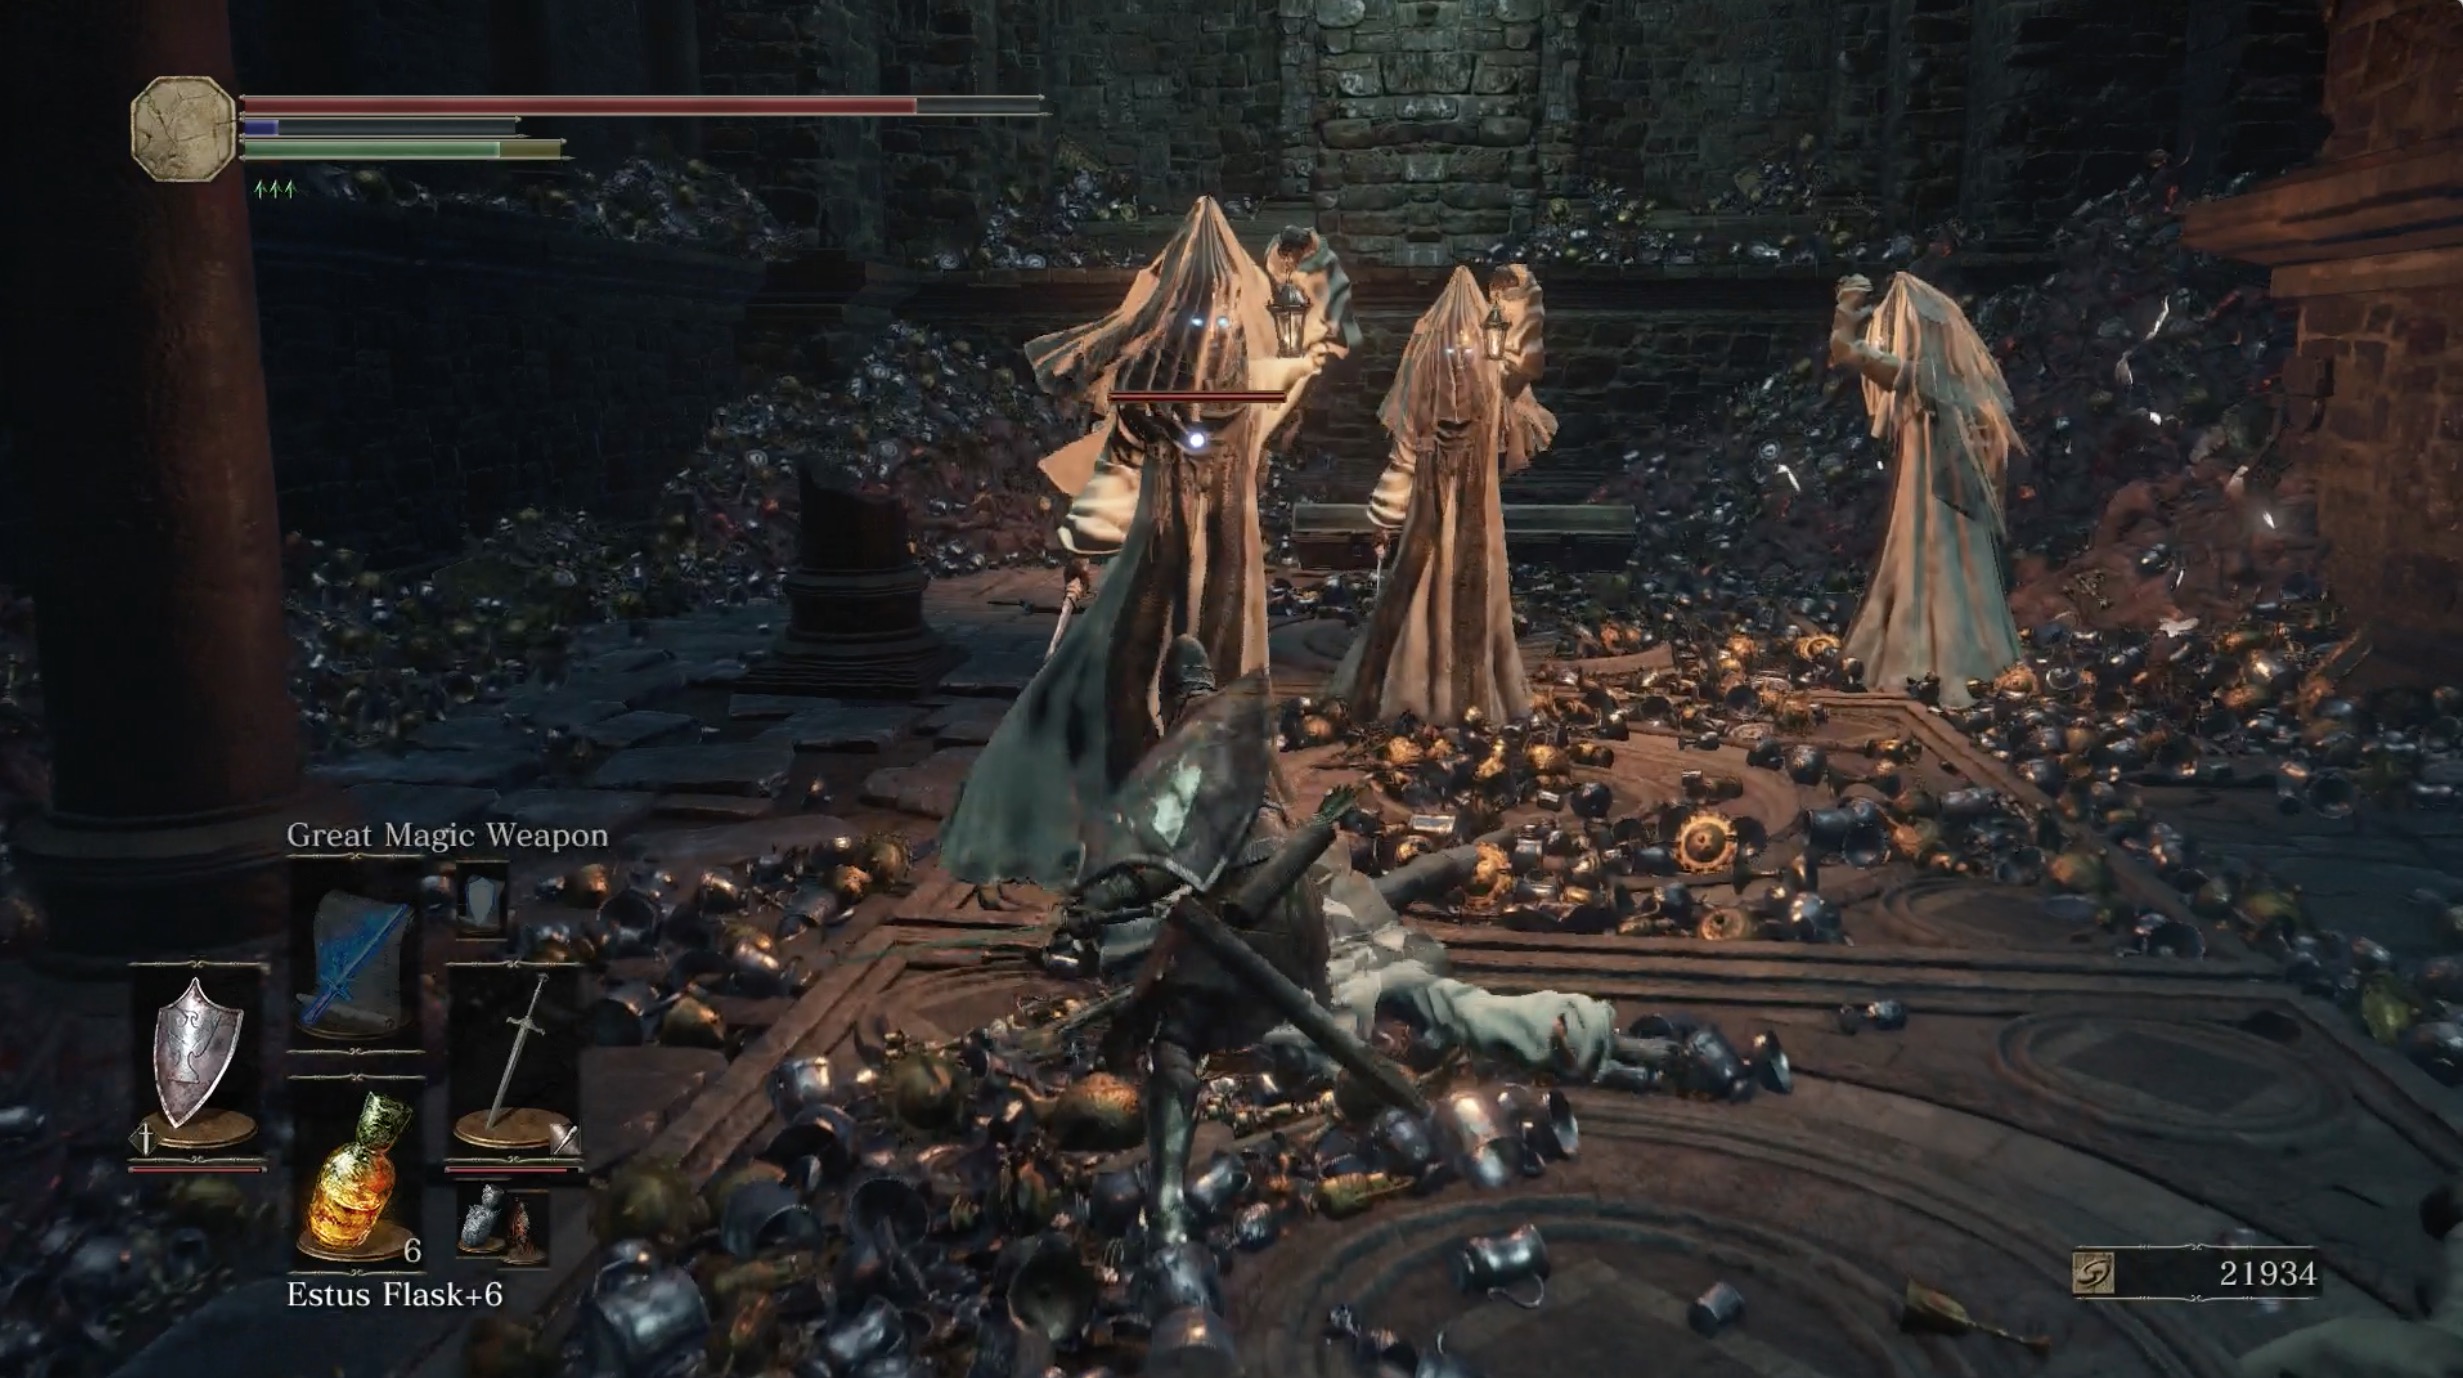
When inside, take intendance of the four Handmaids on your left, then some other Headless Gargoyle equally y'all become downward the hallway. Though the Handmaids wait like Jailers, they're much much easier to deal with, provided you don't allow them crowd you lot. They're specially ho-hum with their dagger stabs.
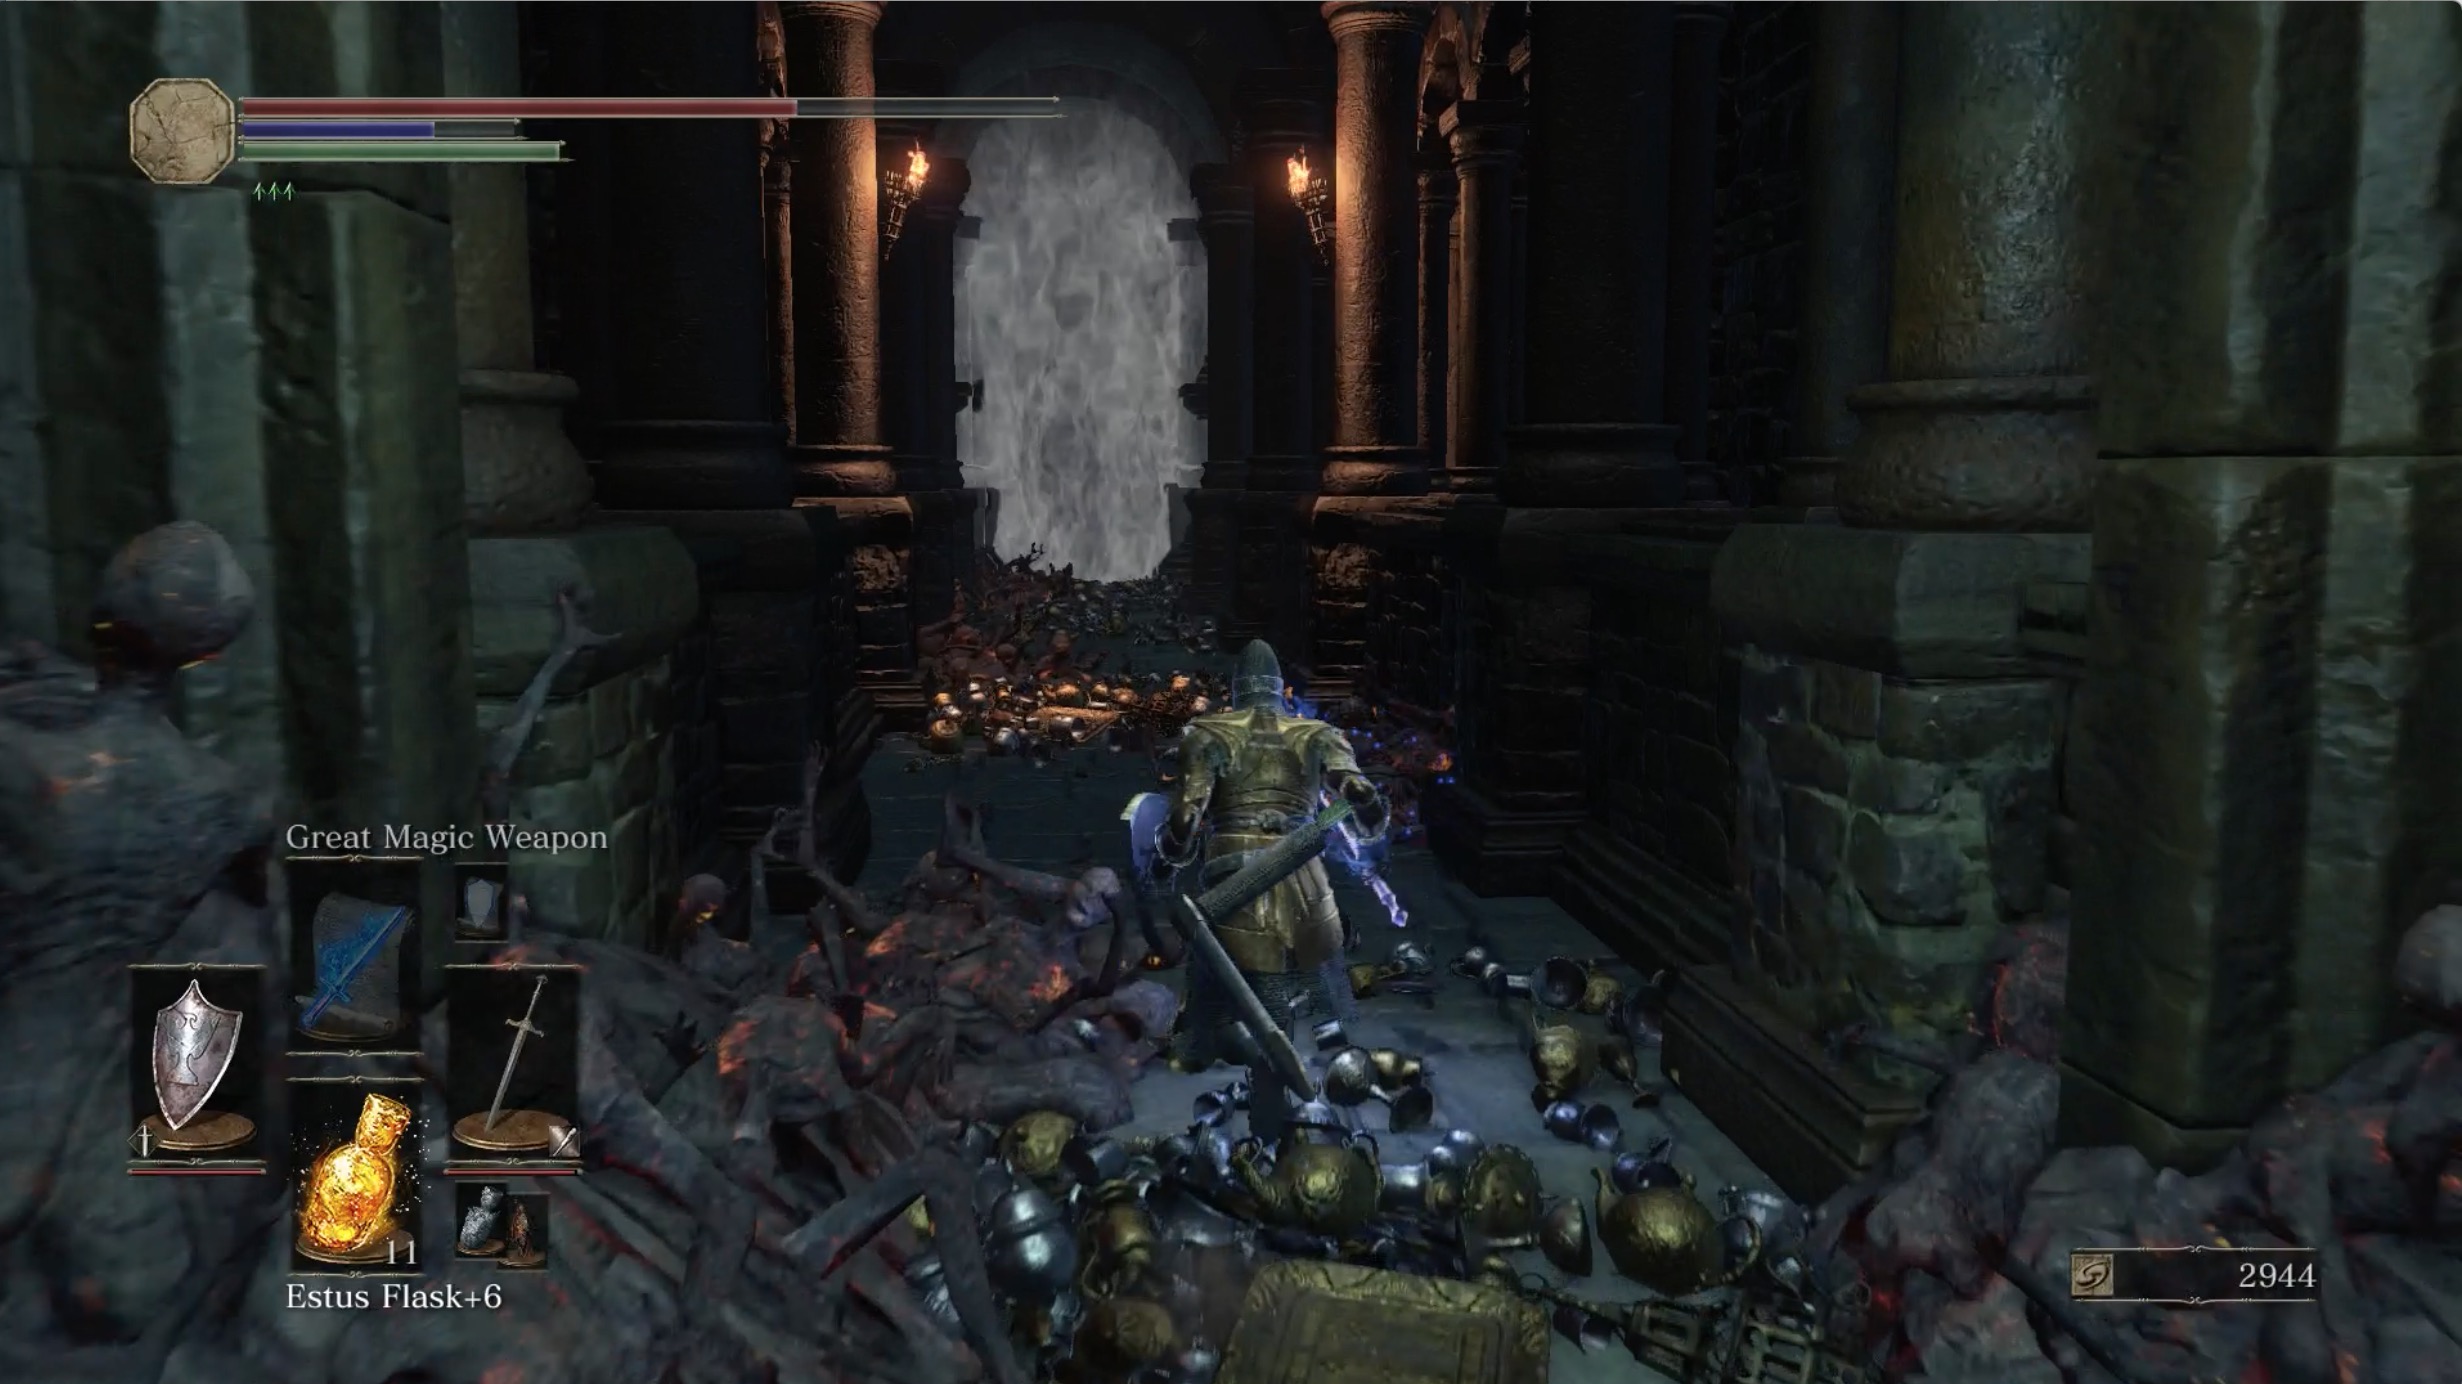
At the 4 way intersection, yous have more Handmaids and another Headless Gargoyle at the far end. When you're there, catch the Ember from the chest and take out the Mimic, who will drib a Rusted Gold Money. Right of the intersection are four Handmaids by the flaming fountain. Subsequently taking out the Handmaids, check the bridge beyond the fountain for two Rusted Coins.
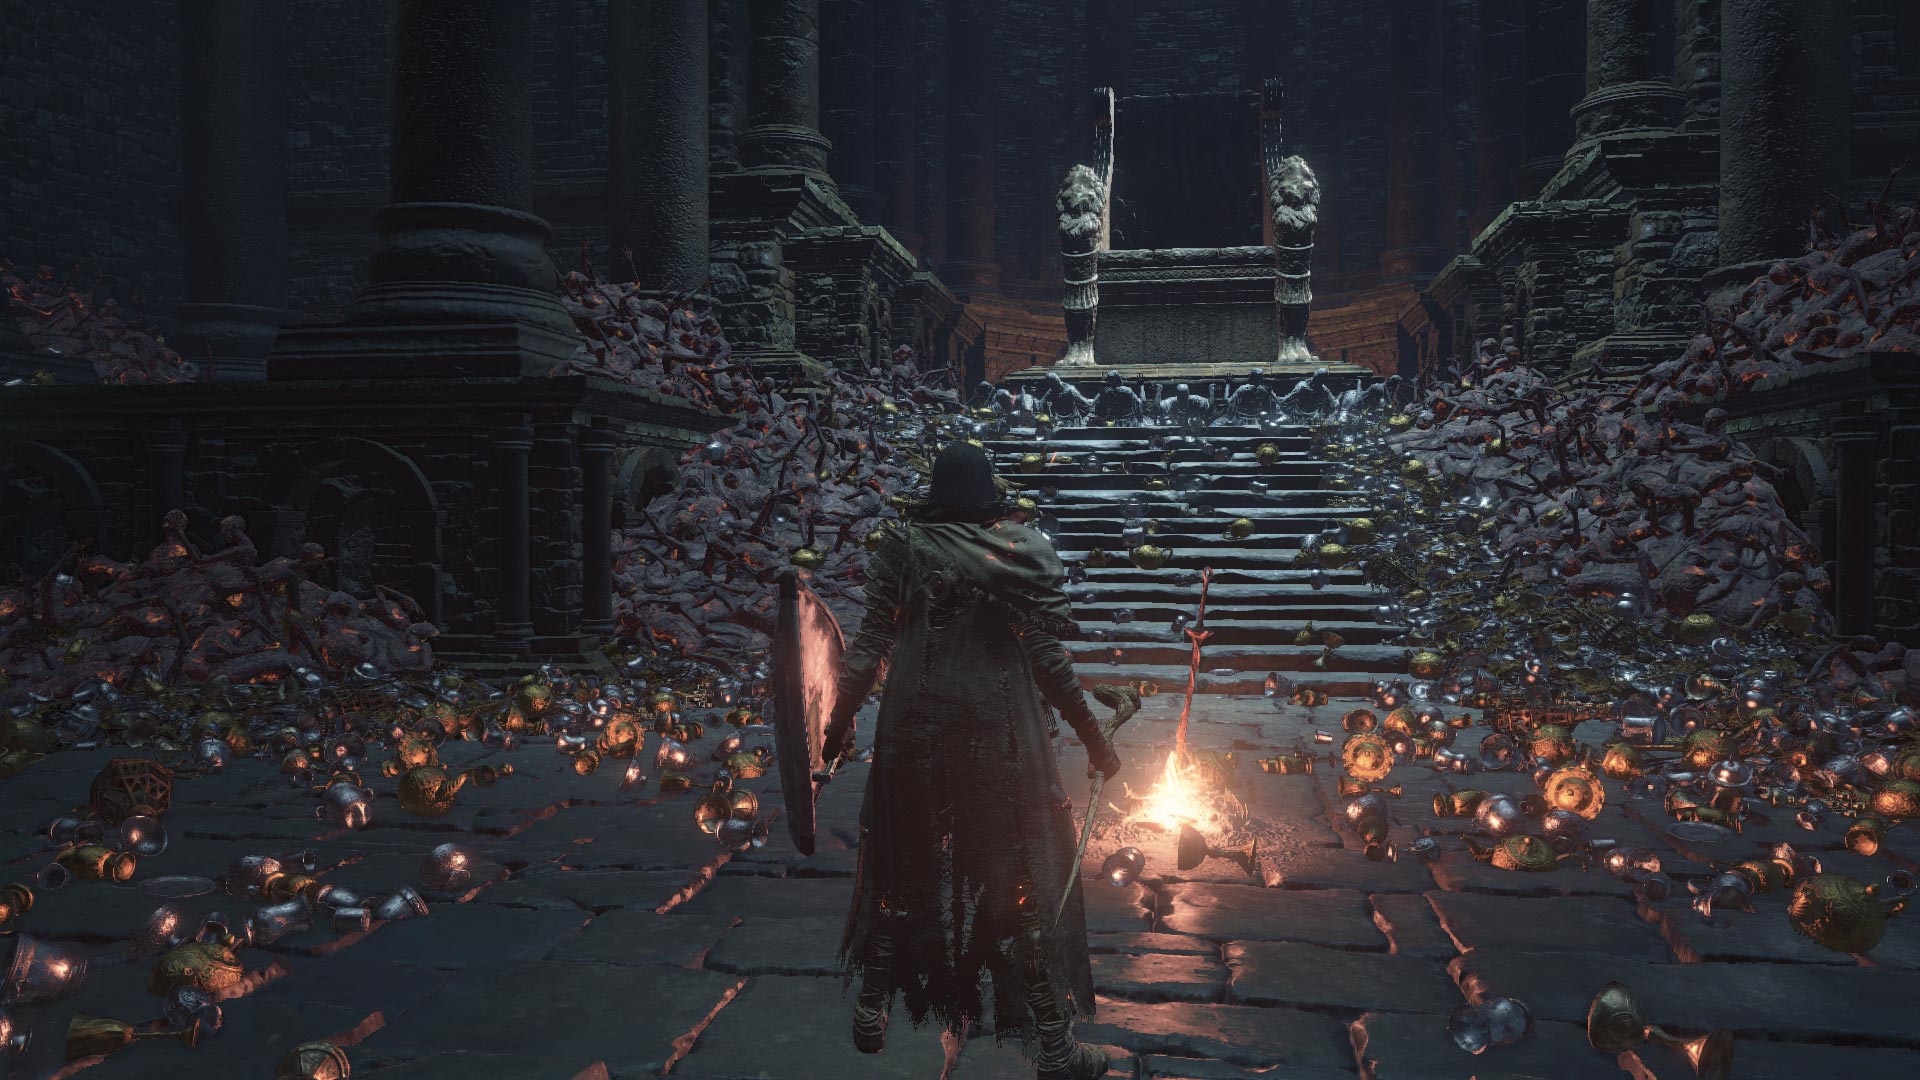
Your final destination in this area is to your left at the intersection, an meet with the next boss, Yhorm the Giant.
Yhorm the Giant boss fight
Brusque version: Grab the Tempest Ruler.
Tactics (start stage): Technically, Yhorm can be defeat past using whatsoever weapon you lot've relied on up to this point, but to make this fight significantly easier, run to the correct side of Yhorm'due south throne and take hold of a new weapon, the Storm Ruler. Distance yourself from Yhorm then you can equip the Storm Ruler.
Hold the weapon with two hands and activate the Storm Ruler's weapon skill. The skill has ii intensity settings, then y'all can deal more damage if you tin can charge the weapon for a couple seconds more. Use the giant's irksome movements to create openings for these Tempest Ruler attacks, which should involve getting behind Yhorm by going betwixt its legs. With its back toward y'all, charge and unleash the Storm Ruler'due south skill attack.
Yhorm uses its blade non unlike the two-handed saw wielder in the Undead Settlement. That ways yous should expect out for single-handed downward strikes, often in a diagonal path and two-handed chops where Yhorm is belongings its blade lengthwise. In other words, there'due south little value being in front of Yhorm. The exception is during its single-handed downward strike, which can exist avoided if yous're direct in front of him, to the extent that you're practically under Yhorm.
Tactics (second phase): Yhorm will go inflamed subsequently its wellness is downwardly to 50%. Its attacks remain the same except that they're executed faster this fourth dimension. Yhorm also uses a circle-shaped flaming knockback set on. Yous don't have to exist especially vigilant in anticipating this motility as it takes off footling to no wellness. Continue using the Storm Ruler'due south skill assail until y'all've defeated the boss.
Yhorm the Giant blaze
Defeating Yhorm the Giant volition automatically fast travel you back to the church at the lesser of High Wall of Lothric. This is also assuming you've already defeated Aldrich. Talk to Emma over again. She will deliquesce and you volition be given the Basin of Vows. Placing the basin at the statue in front end of you will trigger the side by side boss battle, then be sure to visit the Firelink Shrine first if you need to level up.
Dancer of the Boreal Valley boss fight
Short version
Avert the Dancer's right side, and so prepare for the spin attack.
Tactics (first phase)
Be prepared to motion sideways almost constantly to keep upwardly with The Dancer's persistent strafing motions, especially since you should prioritize the Dancer's rear as a weakpoint. Likewise take advantage of the column with the spiral staircase as a temporary barrier if you need time to reenhance weapons or heal.
Don't be fooled past its free correct hand. Avoid it at all times since its catch-and-stab attack is one of the Dancer's more powerful moves. Blocking is a slightly more effective defense than rolling when it comes to the Dancer'southward diverse sweeping bract attacks. Also sentinel out for circular flame attacks, both in the forms of shockwaves and brief firewalls created by the Dancer's sword.
Tactics (second phase)
When yous've gotten the Dancer's health down to about 60 pct information technology volition conjure a second blade from the basis. The good news is that the grab-and stab attack is no longer in play. The bad news is that the Dancer now has a lethal spin set on that features up to eight mortiferous rotations. This set on is mostly blockable; the culling is to run to the stop of the map opposite the Dancer to avoid the move entirely. Dancer is vulnerable for ii to iii hits if it is dipping its 2d sword into the ground, creating a dark smoke. But be prepare for a dissentious shockwave at the end of this movement. Again keep away from its forepart; ane of the Dancer'south almost painful attack involves an underhand strike with both blades.
Dancer of the Boreal Valley bonfire
Attempt to place the Basin of Vows the second time to bring down the ladder in front of yous. This will requite y'all admission to the adjacent surface area along the disquisitional path, Lothric Castle.
You don't have to take the critical path, though. You can head to Anor Londo first.

How To Get To Yhorm The Giant,
Source: https://www.polygon.com/2016/4/12/11412770/dark-souls-3-profaned-capital-walkthrough
Posted by: flanaganpostrod.blogspot.com
0 Response to "How To Get To Yhorm The Giant"
Post a Comment